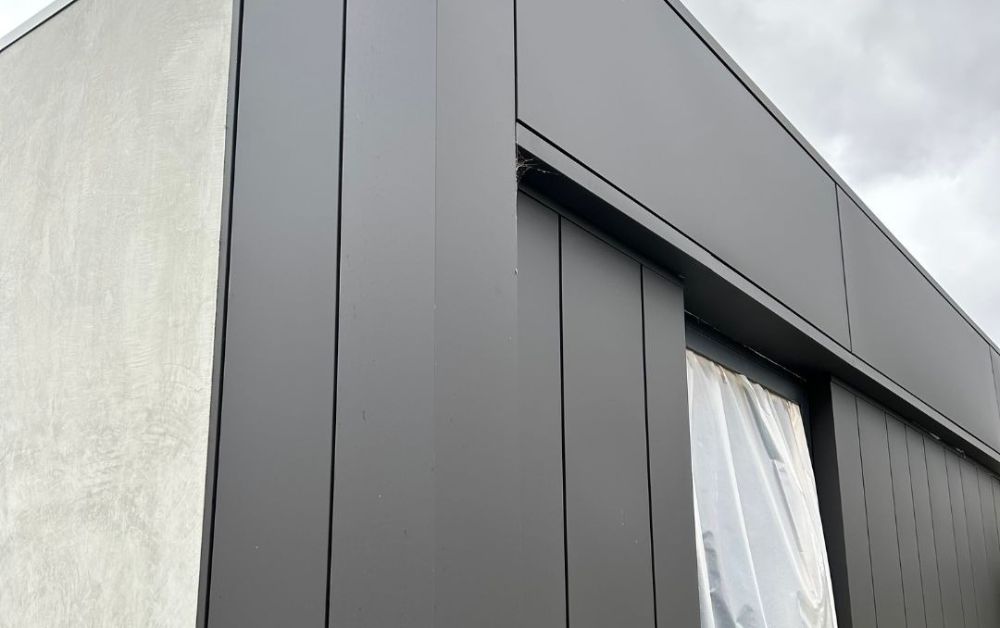
A Step-by-Step Guide to Installing Snap Lock Cladding Like a Pro
Reading time: 8min 1 sec
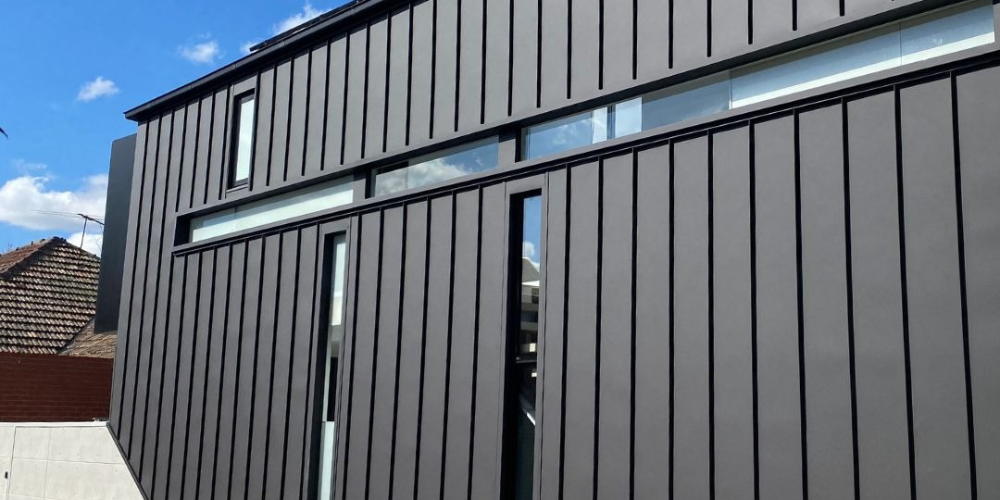
Snaplock cladding is one of the coolest things happening in the world of roofing and cladding right now! This could be your golden ticket to give your building a sleek, modern look while beefing up its durability.
But how complex is the installation process? Well, fear not! While it may seem daunting at first glance, installing snap lock cladding is simpler.
But, just a friendly piece of advice… Take your time, and don’t rush the process. Like any project, careful planning and attention to detail can make all the difference. Ensure you have all the necessary tools and materials handy before you start, and don’t hesitate to ask for help if needed.
So, if you’re ready, grab your tools and let’s dive into the world of snap lock cladding installation! You’ll be amazed at how quickly you can transform your building into a modern masterpiece.

Lance Mathews
In This Article
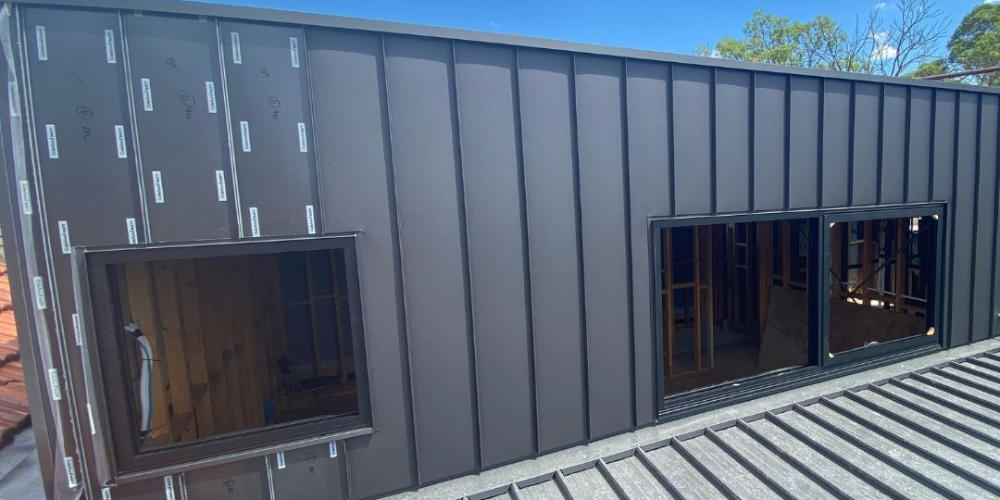
How To Install a Snap Lock Cladding
Installing Snaplock cladding is a precise process that requires attention to detail and the right tools.
Before anything else, make sure you have all the materials you need.
Here’s the list of the things you need:
- Snaplock cladding panels
- Plywood substrate or timber battens (if not installed directly onto metal cladding)
- Waterproof, breathable proctor wrap
- Fasteners (screws)
- Stainless steel clips
- Silicone sealant
- Footnote flashings
- C-section pocket flashings
- 25-millimetre nosing strips
- Parapet caps
- Protective plastic covering (for panels)
Here’s our step-by-step guide to help you through the installation:
Step 1: Get Your Substrate Ready
Decide whether you’ll install the snap lock cladding directly onto metal cladding or a plywood substrate. If you’re going with metal, be mindful of potential issues with screws protruding and causing dents on the panel face. If opting for plywood, ensure it’s securely installed and check for any bumps or dents that might cause trouble later on.
Step 2: Wrap It Up
Wrap your plywood substrate or timber battens with a waterproof, breathable proctor wrap. This adds an extra layer of protection and ensures your substrate is ready for the cladding.
Step 3: Flashings First
- Start by fitting footnote flashings around the edges underneath the plywood.
- Install C-section pocket flashings at the bottom of windows, and remember the 25-millimetre nosing strips for a neat finish.
- Seal and fasten all flashings together tightly with silicone and screws to keep the weather out.
Step 4: Prepping Your Panels
- Ensure all your panels have the necessary hooks and stops to be strong and straight.
Step 5: Start Installing
- Begin with a corner panel, securing it at a 90-degree angle to the plywood using stainless steel clips and screws. Remember, keep those clips no more than 350 millimetres apart for good support.
Step 6: Lay Them Down
- Continue laying your panels, making sure each one is securely fastened with clips and screws.
- Keep the spacing consistent and make any necessary cuts to fit around windows or other obstacles.
Step 7: Adding the Finishing Touches
- Install your parapet caps with a 50-millimetre downturn down the face of the panel, screwing them evenly with 500 centres for a polished look.
Step 8: The Final Check
- Once all panels are in place and flashings are secure, carefully remove any protective plastic covering from the panels.
- Inspect your work for any last-minute tweaks or touch-ups.
DIY or Professional Snaplock Cladding Installer?
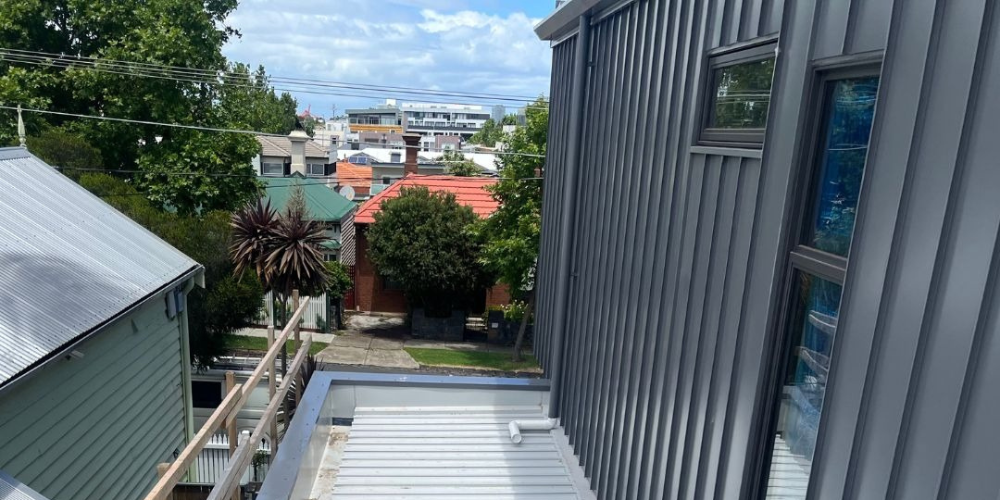
Deciding between a DIY approach or hiring a professional snaplock cladding installer depends on various factors, including your level of expertise, available time, budget, and the project’s complexity.
Here are some points to consider for both options:
DIY Snaplock Cladding Installation:
Cost Savings
DIY installation can save money on labour costs since you won’t be paying for professional services.
Learning Experience
Installing snaplock cladding can be a rewarding learning experience, providing you with new skills and knowledge about home improvement.
Flexibility
You have control over the schedule and pace of the project, allowing you to work at your convenience.
Customization
DIY projects offer customization and personalization, allowing you to tailor the installation to your preferences.
Potential Challenges
However, DIY installation may pose challenges, especially if you need more experience or specialized tools. Improper installation could lead to issues such as water leaks, structural instability, or aesthetic flaws.
Professional Snaplock Cladding Installer
Expertise
Professional installers have the necessary skills, experience, and training to ensure a high-quality installation. They know the best practices and techniques to achieve optimal results.
Efficiency
Hiring professionals can save time, as they can complete the installation more quickly and efficiently than a DIYer, minimizing disruptions to your routine.
Quality Assurance
Professional installers typically provide warranties or guarantees on their work, giving you peace of mind knowing that the job will be done right.
Safety
Working at heights or with heavy materials can pose safety risks. Professional installers have the proper safety equipment and training to minimize accidents and injuries.
Cost Consideration
While hiring professionals may involve higher upfront costs than DIY, ensuring a flawless installation and avoiding potential issues down the road can be a worthwhile investment.
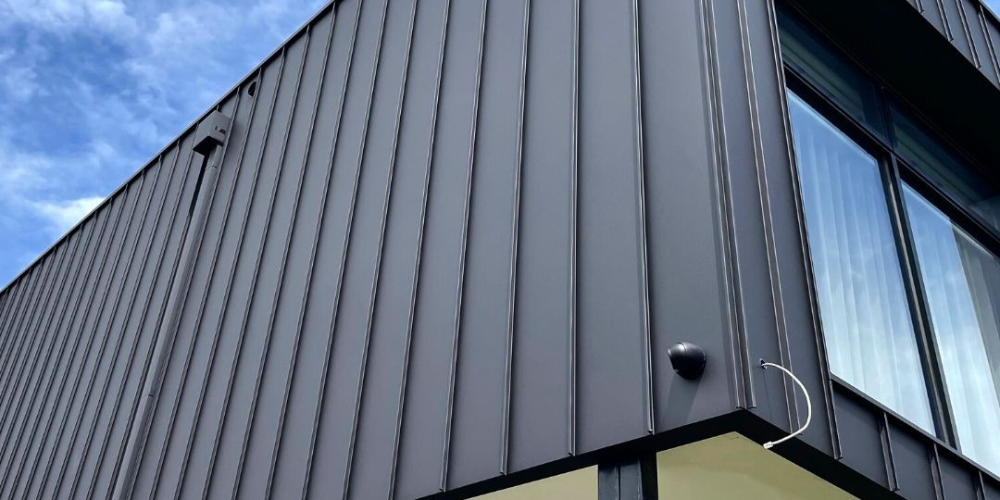
When Do You Need a Snaplock Cladding
We’ve been installing many types of claddings throughout the years as trusted installers here in Melbourne. However, snaplock cladding stands out in several situations:
Ease of Installation
Snaplock cladding systems are designed for quick and straightforward installation. The interlocking panels snap together, reducing the need for complex fastening methods and specialized tools. This makes Snaplock cladding a popular choice for DIY enthusiasts and professionals, saving installation time and labour costs.
Weather Resistance
Snaplock cladding offers excellent protection against the elements. The tight interlocking seams and durable materials provide a weatherproof barrier that shields the building from rain, wind, snow, and UV radiation. This helps maintain the integrity of the building envelope and reduces the risk of water damage and mould growth over time.
Versatility in Design
Snaplock cladding comes in various colours, finishes, and profiles, allowing endless design possibilities. Whether aiming for a sleek and modern aesthetic or a more traditional look, a snaplock cladding option suits your vision. Mixing and matching colours and textures enables you to create unique and eye-catching facades that stand out.
Durability and Longevity
Snaplock cladding is built to last. Constructed from durable materials such as steel, aluminium, or composite panels, snaplock cladding is resistant to fading, chipping, and corrosion. This means you can expect your cladding to maintain its appearance and performance for many years with minimal maintenance, saving you time and money in the long run.
Energy Efficiency
Some snaplock cladding systems offer additional insulation options, helping improve the energy efficiency of the building. Insulated snaplock cladding can lower heating and cooling costs and create a more comfortable indoor environment for occupants by reducing thermal bridging and heat loss through the exterior walls.
Low Maintenance
Unlike traditional cladding materials such as wood or stucco, snaplock cladding requires minimal upkeep. Routine cleaning with soap and water is usually all needed to keep the panels looking their best. Plus, the durable nature of snaplock cladding means you won’t have to worry about issues like rot, mould, or pest infestations.
Cost-Effectiveness
While snaplock cladding may have a higher upfront cost than other cladding options, its ease of installation, durability, and low maintenance requirements can result in long-term cost savings. Additionally, the ability to customize Snaplock cladding to fit your specific needs and budget makes it a smart investment for residential and commercial projects.
Safety Measures When Installing Snaplock Cladding on Your Own
Safety should always come first when taking on a task like installing snap lock cladding.
Put on the proper protective gear.
Make sure you have the proper equipment on before you ever take up a tool. This includes a hard hat if you’re working at a height, robust work boots, safety glasses, and gloves.
Use secure ladders or scaffolding.
When working at a height, ensure your scaffolding or ladder is solid and securely fastened. For setup and usage, always adhere to the manufacturer’s instructions.
Be mindful of electrical hazards.
If your project involves working near electrical wires or outlets, take extra precautions to avoid contact. Consider turning off the power to nearby electrical sources before you begin work.
Handle tools and materials with care.
Sharp tools and heavy materials can pose a risk if not handled properly. Take time, use tools as intended, and be mindful of your surroundings to prevent accidents.
Work with a buddy.
Having someone nearby while you work whenever possible is a good idea. They can assist you if needed and help in an emergency.
Follow manufacturer instructions.
Whether for the cladding panels themselves or any tools you’re using, always follow the manufacturer’s instructions and guidelines for safe installation.
Stay weather-aware.
If you’re working outdoors, keep an eye on the weather forecast. Avoid working in windy or wet conditions, as these can increase the risk of accidents and injuries.
How Much Does Snap Cladding Cost?
Snaplock is not cheap, but it’s certainly worth the investment. The cost of snaplock cladding can vary depending on several factors, including the type of material used, the size of the project, installation complexity, and any additional features or customization options.
In Australia, for example, you can expect to pay anywhere from roughly $130 to $300 per square meter for snaplock cladding, including materials and installation. This ballpark figure covers the cost of materials, labour, and additional features like insulation backing or special finishes.
While it may seem like a significant upfront investment, snaplock cladding offers numerous benefits that justify the cost. Its durability, weather resistance, energy efficiency, and aesthetic versatility make it a smart long-term solution for residential and commercial buildings.
When considering the cost of snaplock cladding, looking at the bigger picture and the value it brings to your project is essential. By investing in high-quality cladding, you’re not only enhancing the appearance and functionality of your building but also adding long-term value and protection against the elements.
Frequently Asked Questions
The installation time for Snaplock cladding depends on factors such as the size and complexity of the project, site conditions, and labour availability. As for lifespan, properly installed Snaplock cladding can last for many years with minimal maintenance.
Snaplock cladding can be customized to fit unique architectural designs and building requirements. It comes in various colours, finishes, and profiles, allowing creative design possibilities and tailored solutions to meet specific project needs.
Snaplock cladding panels are designed to be installed and removed relatively easily, making repairs or replacements more manageable than traditional cladding materials. However, proper installation techniques and fastening methods ensure panels remain secure over time.
Snaplock cladding materials vary in their fire resistance properties. Choosing materials that meet local building code requirements for fire safety is important, especially in areas prone to wildfires or other fire hazards.
Conclusion
Choosing the right cladding for your building is a crucial decision that requires careful consideration of various factors. Snaplock cladding offers a range of benefits, including ease of installation, durability, versatility in design, and energy efficiency. Following proper installation procedures and considering important factors such as material selection, maintenance requirements, and local building codes can ensure a successful and long-lasting cladding solution for your project.
Before making a final decision, I advise you to consult with experienced professionals, review product specifications, and gather multiple quotes to ensure you select the best option for your specific needs and budget. Remember, investing in high-quality cladding not only enhances the appearance and functionality of your building but also adds long-term value and protection against the elements. Choose wisely, and enjoy the benefits of a well-clad and aesthetically pleasing structure for years to come.

